Engineering for a talented, successful, artistic band is the coveted job for most audio engineers. The audio engineers that don’t like recording bands either don't have the patience for all of the set up or would prefer not to deal with a lead guitarist who has to spend three hours dialing in his tone. And you can't blame a person for not wanting to deal with a ‘Spinal Tap’ like situation in real life. Those who do have the patience and the passion for band sessions are in for a real workload that pays dividends in the end. There are a lot of little techniques that engineers and producers use to get their own distinct sound, however I do believe that there are some basic practices that can really get your recording to a level that is ready for mixing: Mic choice and placement, checking for phase issues, and keeping the energy as positive as possible. If you make it a point to make sure all of these thing are being accounted for you should be able to work with whatever you record.

Ryan's Band Recording Techniques
Ryan Sapena
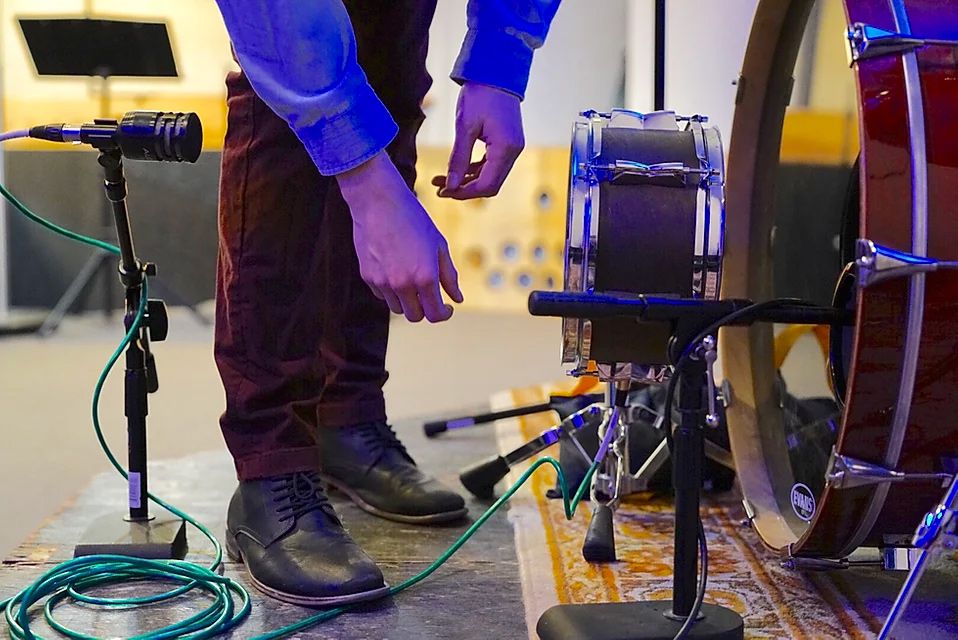
Mic choice and mic placement: It seems obvious but this is a good place to be creative so it tends to get more complicated than it needs to be. There are thousands of mics out there so choose your mics and miking techniques according to your situation. If you only have a day to get as much done as possible, you don't want to spend a lot of time messing with crazy stereo techniques for overheads or room mics that you have to be super precise with when you can get a great sound by a simple spaced pair. When choosing your mics, you have to think about what kind of band you are recording. If it’s a blues band then you probably want a nice clean sound. If you are recording a metal or hard rock band you might want to use multiple kick drum mics. Try using a dynamic mic like the Sennheiser 421 for a kick in to get the punch of the kick drum, something like an Audix D6 as the kick out mic to get the natural low end sound, and use a sub kick mic to bring the kick to a new level. Try placing the D6 about three and a half feet back to let the sound wave develop as much as possible, while placing the 421 inside the drum about 5 inches from where the pedal hits the head. This technique can be used for all kinds of music and mixed as you see fit, to best represent the genre you are recording.
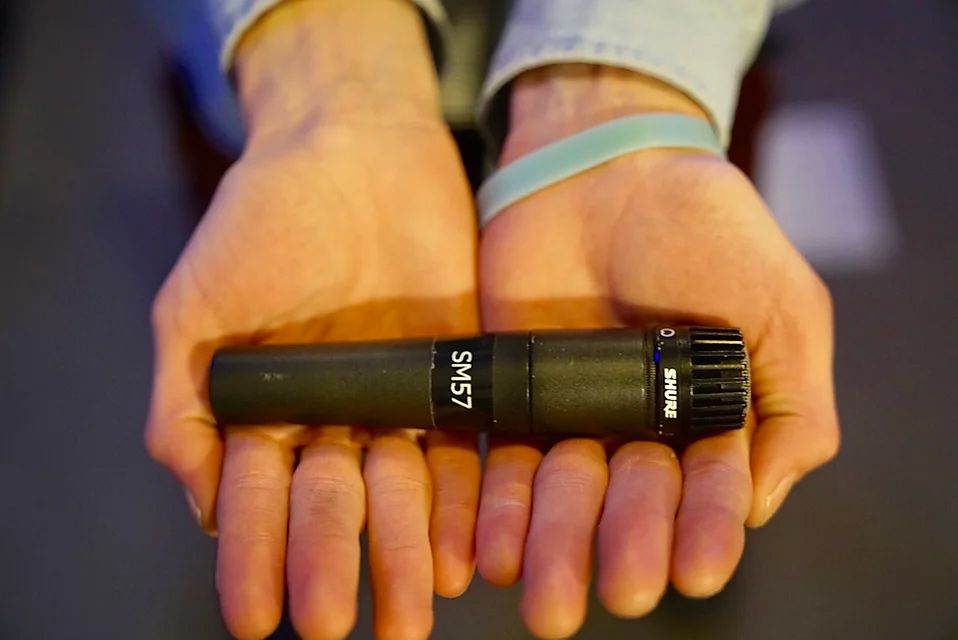
With a more distorted guitar sound you can definitely get away with using some sort of dynamic mic on the guitar cab. Try the trust ol’ SM57. That mic WILL get the job done. For bass, most rock bands prefer to have their amp miked to best represent their tone. Try a Shure Beta 52 on the speaker of the bass amp and maybe even a subkick to capture that pleasurable low end. When it comes down to it, you just have to play around with the mics that you have at your disposal. Every mic out there can shine when it is wielded by the right engineer.
Checking for phase issues is another biggie when you are searching for audio gold (or even better, platinum. Hehehe). There is nothing worse than getting all your recording done, capturing some amazing performances and then you realize that the overhead drum mics are out of phase when you get to the mixing stage. This problem is often looked at as a mountain of a task to those who are unfamiliar with how phase works. To those souls, I can give a brief rundown of what it is… Phase is when two waveforms cancel each other out, and make the resulting audio sound dull or weakened. This happens because the peak of one wave lines up with the valley of another wave. This problem will occur most often on stereo pairs of microphones, and especially on overhead and room miking techniques. The solution to the problem is simple. Do the miking right! Don't guess on miking techniques like X, Y or ORTF. Make sure you are measuring your distances and placing the capsules in precise calculated manners.
If you have to, look techniques up on the internet there are plenty of instructional videos on youtube uploaded by engineers that are loaded with credentials. One thing that helps with identifying phase is to zoom in and look at the actual wave forms in question on whatever DAW you are using, hopefully Pro Tools…. and adjust the microphones according to what you see. Whatever way you choose to check for phase, just make sure that you are in fact checking for phase, otherwise you will regret it after all the hours you put in result in something that sounds like it was recorded by someone who had an iPhone and thought they could be the next Eddie Kramer.
The last point I want to make is overlooked by a lot of bad producers and home studio owners who think that they are producers. Vibes. Energy. Aura. Whatever kids call it these days. Vibes are everything. The truth of it is that the band’s performance is worth way more than having the most expensive microphone or the nicest snare drum. This means, don't be a jerk at any point during the recording process. Save it for the mixing stages or just keep it to yourself. Artists are very self conscious and a lot of them are betting their lives on their music and most likely paying a lot of money to record with you. Massage their ego, groove to their songs and act into it even if you are not. This is also a good way to keep clients coming back. If you earn the trust of a musician, you can consider them loyal for life. Another thing is, no artist wants to record in a room with fluorescent lights burning their eyes while they have to step over clothes strewn about the floor of your home studio. Make it clean and get some colored lights, make it look professional.
Get a lava lamp for Pete's sake. Just make the room comfortable for the artist. If they want the thermostat set to 95 degrees: do it. If they need to record sitting cross legged on a medicine ball: let them do it. When an artist is comfortable and has a mind that is free to focus on the music, that is when magical stuff happens. And always remember, your artistic mind comes into play with mixing, that is when you are the boss. Let the artist do his part and you do yours. That's not to say you can't make suggestions that you really think will make the song better, but always be positive about it.
If you are struggling with the sound of the projects you are working on, think of these three things. See if you can improve your mic collection, add more variety. Make sure that you are looking and listening for phase before you start recording. Do it right the first time and the client will be happy. It always takes more time to rerecord than to take an extra five minutes and move a microphone to the right spot. And always have a good attitude and create a creative little nest for the artist to feel at home in. A good performance will always prevail against any amount of auto tune or mixing magic that you can throw in there.